


Sriram Sanka

Databases | Cloud | Infrastructure | Security |

Archive for the ‘Windows’ Category

How-to-Install-Python-with-Anaconda & Connect with Oracle

Posted by Sriram Sanka on October 4, 2022

You can also download Python Installer Executable from https://www.python.org/downloads/windows/

With the Help of CX_ORACLE, we can connect and Execute Oracle Commands .

<strong>import pandas as pd
import pandas.io.sql as psql
import cx_Oracle
import os
os.environ["NLS_LANG"] = "AMERICAN_AMERICA.AL32UTF8"

dsn_tns = cx_Oracle.makedsn('localhost', 1521, 'xe')
ora_conn = cx_Oracle.connect('sriram','sriram',dsn=dsn_tns)
df1 = psql.read_sql('SELECT * FROM dba_users ', con=ora_conn) 
#for v in df1['USERNAME']:
#    print(v)
print("Running :", df1)
ora_conn.close()</strong>

You can use getpass to hide prompted password at command prompt.

<strong>import pandas as pd
import pandas.io.sql as psql
import cx_Oracle
import getpass
import os
os.environ["NLS_LANG"] = "AMERICAN_AMERICA.AL32UTF8"
username = input("Enter User Name: ")
userpwd = getpass.getpass(prompt='Password: ', stream=None) 

dsn_tns = cx_Oracle.makedsn('localhost', 1521, 'xe')
ora_conn = cx_Oracle.connect(username,userpwd,dsn=dsn_tns)
df1 = psql.read_sql('SELECT username,account_status FROM dba_users ', con=ora_conn) 
print("Running :", df1)
ora_conn.close()
</strong>

We can use the plot by Installing matplotlib

<strong>import pandas as pd
import pandas.io.sql as psql
import cx_Oracle
import getpass
import os
import matplotlib.pyplot as plt
os.environ["NLS_LANG"] = "AMERICAN_AMERICA.AL32UTF8"
username = input("Enter User Name: ")
userpwd = getpass.getpass(prompt='Password: ', stream=None) 

dsn_tns = cx_Oracle.makedsn('localhost', 1521, 'xe')
ora_conn = cx_Oracle.connect(username,userpwd,dsn=dsn_tns)
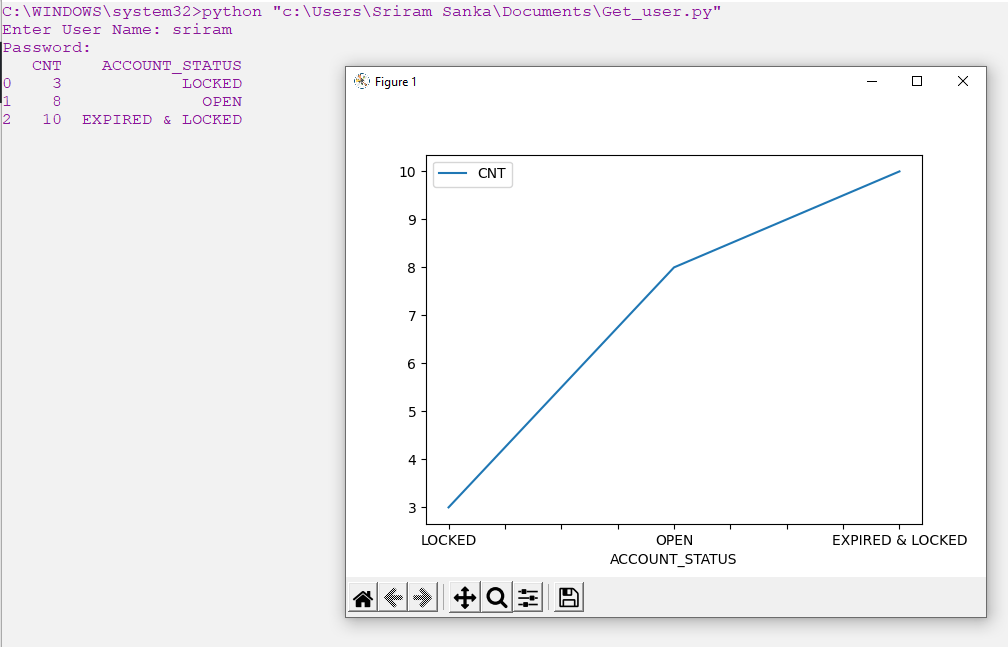
df1 = psql.read_sql('SELECT count(*) cnt,account_status FROM dba_users group by account_status', con=ora_conn) 

print(df1)
df1.plot(x="ACCOUNT_STATUS",y=["CNT"])
plt.show()
ora_conn.close()</strong>
<strong>import pandas as pd
import pandas.io.sql as psql
import cx_Oracle
import getpass
import os
import matplotlib.pyplot as plt

os.environ["NLS_LANG"] = "AMERICAN_AMERICA.AL32UTF8"
username = input("Enter User Name: ")
userpwd = getpass.getpass(prompt='Password: ', stream=None) 

dsn_tns = cx_Oracle.makedsn('localhost', 1521, 'xe')
ora_conn = cx_Oracle.connect(username,userpwd,dsn=dsn_tns)
df1 = psql.read_sql('SELECT count(*) cnt,account_status FROM dba_users group by account_status', con=ora_conn) 
print(df1)
df1.plot.bar(x="ACCOUNT_STATUS",y=["CNT"],rot=0)
plt.show()
ora_conn.close()</strong>

Hope you like it !!!

Posted in Installation, Linux, Python, Windows | Tagged: | Leave a Comment »

Hacking – FATDBA.COM  ¯\_(ツ)_/¯

Posted by Sriram Sanka on October 4, 2022

#Python #WebScraping

Just Kidding !!! Its not Hacking, this is known as WEB-SCRAPING using the Powerful Python.

What is web scraping?

Web scraping is the process of using bots to extract content and data from a website. Unlike screen scraping, which only copies pixels displayed onscreen, web scraping extracts underlying HTML code and, with it, data stored in a database.

You just need a Browser, Simple & a small Python Code to get the content from the Web. First Lets see the Parts of the Code and Verify.

Step 1 : Install & Load the Python Modules

import time
import os
import pandas as pd
import requests
from lxml import etree
import random
import urllib.request, urllib.error, urllib.parse
import urllib.parse
import sys
import urllib.request
import string

Step 2: Define function to get the Name of the Site/Blog to Make it as a Folder.

def get_host(url,delim):
    parsed_url = urllib.parse.urlparse(url)
    return(parsed_url.netloc.replace(delim, "_"))

Step 3: Define a Function to Get the Blog/Page Title

def findTitle(url,delim):
    webpage = urllib.request.urlopen(url).read()
    title = str(webpage).split('<title>')[1].split('</title>')[0]
    return title.replace(delim, "_").translate(str.maketrans('', '', string.punctuation))

Step 4: Define a Function to Generate a Unique string of a given length

def unq_str(len):
    N = len
    res = ''.join(random.choices(string.ascii_uppercase + string.digits, k=N))
    return(str(res))

Step 5: Write the Main Block to Download the Content from the Site/Blog

def Download_blog(path,url,enc):
    try:   
        response = urllib.request.urlopen(url)
        webContent = response.read().decode(enc)
        os.makedirs(path+'\\'+ str(get_host(url,".")), exist_ok=True)
        n=os.path.join(path+'\\'+ str(get_host(url,".")),findTitle(url," ") +'.html')
        f = open(n, 'w',encoding=enc)
        f.write(webContent)
        f.close
    except:
        n1=os.path.join(path+'\\'+  str(get_host(url,"."))+'Download_Error.log')
        f1 = open(n1, 'w',encoding=enc) 
        f1.write(url)
        f1.close

Step 6: Define Another Function to save the Blog posts into a file & Invoke the Main block to get the Blog Content.

def write_post_url_to_file(blog,path):        
    main_sitemap = blog+'/sitemap.xml'
    r = requests.get(main_sitemap)
    root = etree.fromstring(r.content)
    for sitemap in root:
        children = sitemap.getchildren()
        with open(str(path+'\\'+get_host(blog,".")) +'_blog_links.txt', 'a') as f:
            f.write( f'\n{children[0].text}')
    col_name = ['url']
    df_url = pd.read_csv(str(path+'\\'+get_host(blog,".")) +'_blog_links.txt', names=col_name)
    for row in df_url.url:
        print(row)
        Download_blog(path,row,'UTF-8')
        
write_post_url_to_file("https://fatdba.com","c:\\Users\\Dell\\Downloads\\blogs\\")

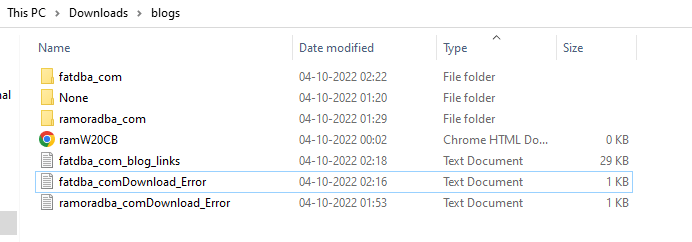
This will create a file with links and folder with blog name to store all the content/Posts Data.

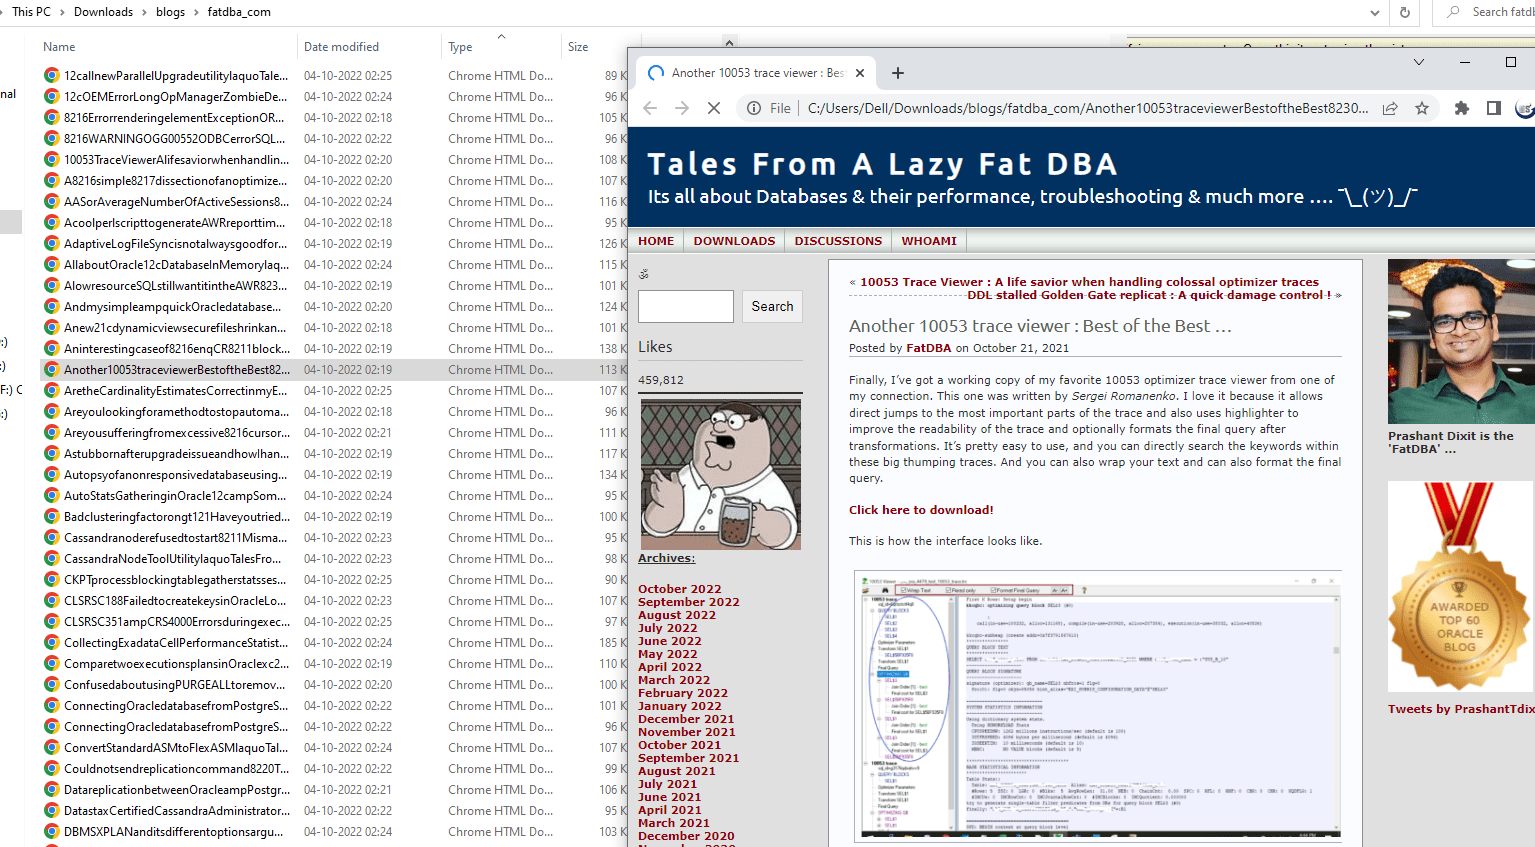
Sample Output as follows

BOOM !!!

For more interesting posts you can follow me @ Twitter – TheRamOraDBA & linkedin-ramoradba

Posted in download_blogs, Linux, Python, WebScraping, Windows | Tagged: , , , | Leave a Comment »

Quick Steps to Install Oracle 19c in Windows

Posted by Sriram Sanka on June 14, 2019


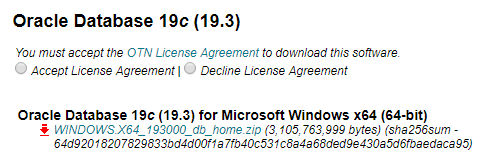
Step 1 : Download Oracle 19c DB software for Windows using https://www.oracle.com/technetwork/database/enterprise-edition/downloads/index.html

Step 2 : Unzip using 7-Zip to your Destination folder.

Step 3 : Navigate to the Extracted Home Folder and Click on Setup.Exe.   


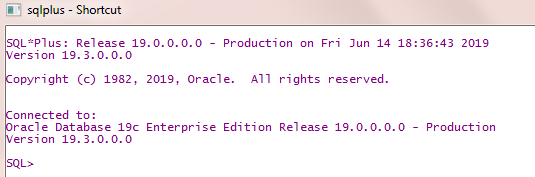
These 3 Simple Steps will launch “OUI” for Installing 19c , go-ahead and  proceed with the Interactive ” Next ” Options.

Happy Reading !

Posted in Installation, Oracle Administration, Oracle Server Administration, Windows | Leave a Comment »